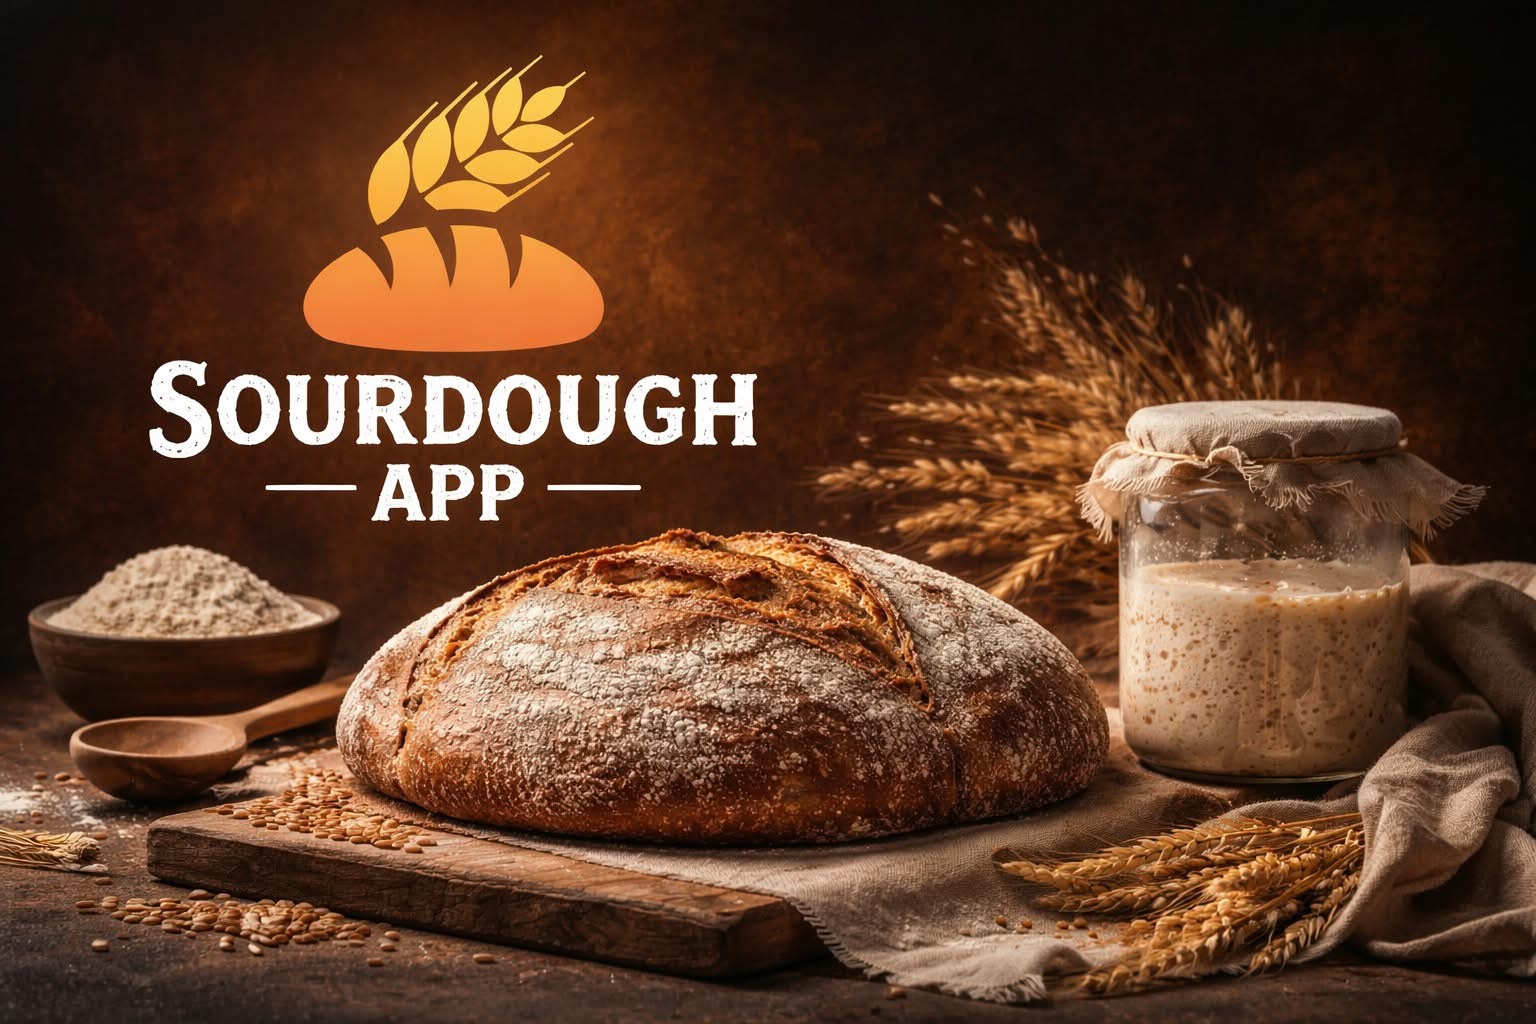
What is Sourdough?
Sourdough is one of the oldest forms of bread leavening, with roots stretching back to ancient Egypt over 5,000 years ago. Unlike commercial yeast, which is a single, isolated strain of Saccharomyces cerevisiae, sourdough is a living ecosystem of wild yeasts and lactic acid bacteria existing in symbiosis.
What makes sourdough special is its complexity. Every sourdough starter is unique – it carries microorganisms from the flour, water, air, and the baker's own hands. This microbial diversity gives sourdough its characteristic flavor, aroma, and texture that is impossible to replicate with commercial yeast alone.
Sourdough has experienced a renaissance in recent years, and for good reason. Research shows that the long fermentation process breaks down phytic acid in flour, making minerals like iron, zinc, and magnesium more available to the body. Many people who struggle to digest regular bread find that sourdough is easier on their digestion, thanks to the thorough breakdown of gluten during the extended rise.
From rustic country loaves to airy ciabattas, from crispy pizza crusts to sweet brioche – sourdough can be used in nearly every type of baking. It requires patience and attention, but the reward is bread with a depth of flavor and shelf life that far surpasses bread made with commercial yeast.
The Science
Sourdough is essentially a miniature ecosystem. It consists primarily of two types of microorganisms: wild yeasts and lactic acid bacteria (LAB). The most common yeast strains are Kazachstania humilis and Saccharomyces cerevisiae, while Lactobacillus sanfranciscensis, Lactobacillus plantarum, and Lactobacillus brevis are among the most prevalent bacteria.
These organisms live in a fascinating symbiosis. The lactic acid bacteria produce acids – primarily lactic acid and acetic acid – that lower the dough's pH to between 3.5 and 4.5. This acidic environment inhibits the growth of unwanted bacteria and mold, while creating the complex flavors we associate with sourdough. Lactic acid provides a mild, yogurt-like sourness, while acetic acid contributes a sharper, vinegar-like tang.
The yeast is responsible for leavening the dough. When yeast cells consume sugars from the flour, they produce carbon dioxide (CO₂) and ethanol. The CO₂ gas becomes trapped in the gluten network of the dough, forming the characteristic air pockets in the bread. The ethanol evaporates during baking but contributes to flavor development during fermentation.
The ratio of yeast to bacteria is typically around 1:100 – there are far more bacteria than yeast cells. This balance is the key to sourdough: the bacteria create the environment, while the yeast provides the leavening. If you change the temperature, hydration, or flour, you shift this balance and thereby change the flavor and texture of your bread.
Enzymes also play an important role. Amylase breaks down starch into simpler sugars like maltose, which in turn feeds the yeast. Protease breaks down proteins, which affects the gluten structure. The long fermentation gives enzymes time to do their work thoroughly, resulting in better flavor, better texture, and better nutrient absorption.
Creating a Starter
Creating a sourdough starter from scratch is a simple but patience-requiring process. All you need is flour and water. The wild yeast cells and bacteria already exist in the flour and in the air around you – your job is to create an environment where they can flourish.
Day 1
Mix 50g whole wheat flour (or rye flour) with 50g lukewarm water (about 25-28°C / 77-82°F) in a clean glass jar. Stir well, cover with a kitchen towel or loosely fitting lid (the starter needs air), and leave at room temperature.
Day 2-3
You might see some bubbles – that's great! But don't be surprised if it smells a bit unpleasant. This is normal. The first few days, the fermentation is dominated by leuconostoc bacteria, which produce gas but will be replaced as the environment becomes more acidic. Discard half the starter and feed with 50g flour and 50g water.
Day 4-5
Activity may have slowed down. Many beginners think their starter has died, but this is completely normal! The lactic acid bacteria are taking over and lowering the pH, which temporarily inhibits the yeast. Continue feeding daily – discard half, add 50g flour and 50g water.
Day 6-7
You should now see consistent bubbling and a pleasant, fruity-sour aroma. The starter should begin doubling in volume within 4-8 hours of feeding. When it does this reliably two days in a row, it's ready to bake with!
Tips for Success
Always use a clean spoon. Rye flour is excellent for starting a new culture because it contains more wild yeast cells and nutrients. Keep your starter in a warm spot (24-28°C / 75-82°F is ideal). Avoid chlorinated water – use filtered water or let tap water sit in an open container overnight to let the chlorine dissipate.
Maintaining
Once your starter is established and active, it's all about keeping it healthy and happy. Think of it as a pet – it needs regular feeding and some attention, but it's more forgiving than you might think.
Feeding Ratios
The ratio of starter to flour to water at feeding time is expressed as a ratio, for example 1:1:1. That means equal parts starter, flour, and water. Here are the most common ratios:
- 1:1:1 – Standard maintenance. The starter peaks fastest (4-6 hours at room temperature). Best for daily baking.
- 1:2:2 – More food per yeast cell gives slower, more even fermentation. Ideal if you bake every other day.
- 1:5:5 – Lots of food, slower peak (8-12 hours). Useful for overnight recipes or if you feed less frequently.
- 1:10:10 – Used when you want the starter to work extra slowly, such as before a long cold retard.
Storage: Counter vs. Fridge
If you bake daily or every other day, keep your starter on the counter and feed it 1-2 times per day. If you bake weekly or less frequently, the fridge is your friend. Fermentation slows significantly in the cold (4-6°C / 39-43°F), so you only need to feed your starter once a week. Take it out the evening before you plan to bake, feed it, and let it sit at room temperature overnight.
Reviving a Neglected Starter
Have you forgotten your starter in the fridge for weeks – or even months? Don't panic! Sourdough starters are incredibly resilient. Pour off any liquid that has collected on top (this is hooch, an alcohol that forms when the starter is hungry). Feed the starter at a 1:2:2 ratio with fresh flour and water. Repeat feeding twice a day for 2-3 days. In most cases, the starter will return to full vigor.
Signs of a healthy starter: it doubles within 4-8 hours of feeding, it has a pleasant tangy smell (like yogurt or green apple), it's full of bubbles, and it has a slightly elastic consistency. The float test – drop a teaspoon of starter in water; if it floats, it's ready to bake with – is a good indicator, but not always 100% reliable.
Flour Types
White Wheat (All-Purpose / Bread)
The most common flour for sourdough. Provides good gluten development, predictable rise, and a mild, neutral bread. Lower in nutrients than whole grain but easier to work with for beginners. Absorption is moderate – expect about 60-65% hydration for a manageable dough.
Whole Wheat
Contains the entire kernel – bran, germ, and endosperm. Richer in nutrients and flavor, but the bran can cut through gluten strands, resulting in a denser crumb. Best used as a portion (20-50%) mixed with white flour. Produces faster fermentation because it contains more enzymes and minerals.
Rye
Rye flour is the sourdough baker's secret weapon. It's full of pentosans (a type of fiber) that bind lots of water, and it ferments rapidly. Rye contains very little gluten, so pure rye bread is dense and moist. In a starter, rye flour produces exceptional activity. Many bakers use rye in their starter and wheat in their dough.
Spelt
An ancient wheat variety with a lovely nutty flavor. Spelt has gluten, but the gluten network is weaker than modern wheat. The dough can become sticky and is easier to overwork. Reduce hydration by about 5-10% compared to wheat recipes. Spelt bread has a wonderful, delicate crumb.
Einkorn
The most ancient wheat grain, cultivated for over 10,000 years. Einkorn has a unique gluten protein that many with mild gluten sensitivity tolerate better. The flavor is rich, almost buttery. The gluten network is very fragile – expect a flatter, denser loaf, but with excellent flavor. Requires lower hydration.
Hydration
Hydration is the ratio of water to flour in your dough, expressed as a percentage. If you use 350g of water with 500g of flour, the hydration is 70% (350 ÷ 500 = 0.70). This single number has an enormous impact on your finished bread.
Low Hydration (50-65%)
The dough is stiff, dry, and easy to shape. It holds its form well and produces a tight, even bread with a fine crumb. Bagels (55-60%) and many traditional breads use low hydration. The advantage is that the dough is simple to handle, but it requires more kneading to develop gluten.
Medium Hydration (65-75%)
This is the sweet spot for most sourdough breads. At 70-72% hydration, you get a dough that is manageable yet still produces an open, airy crumb with fine, irregular holes. Most country loaf recipes fall in this range. It's a great starting point for beginners.
High Hydration (75-90%)
This is where things get challenging – and rewarding. Ciabatta (80-85%), focaccia (75-80%), and many artisan breads use high hydration. The dough is sticky, almost liquid, and requires techniques like stretch and fold instead of traditional kneading. The result is large, irregular air pockets, a glassy, almost translucent crumb, and a wonderfully crispy crust.
Remember that different flours absorb water differently. Whole grains need more water than white flour. Rye flour absorbs enormous amounts of water. It's always wise to hold back 10-20g of water from the recipe and add gradually until you feel the right consistency.
Baking Process
Autolyse
Start by mixing flour and water (without starter and salt) and let it rest for 30-60 minutes. During this time, the flour absorbs the water, enzymes begin working, and the gluten network starts forming on its own. The result is a dough that requires less kneading and has better structure.
Adding Starter and Salt
After the autolyse, add your active starter (typically 10-20% of flour weight) and salt (typically 2% of flour weight). Work them into the dough by squeezing and folding until everything is evenly incorporated. Salt strengthens the gluten network and controls fermentation – never add it directly on top of the starter.
Bulk Fermentation
This is the long first rise, and it's where the magic happens. At room temperature (24-26°C / 75-79°F), this typically takes 4-6 hours. The dough should grow by about 50-75% in volume, become airy and jiggly, and have visible bubbles on the surface and along the sides of the bowl.
Stretch and Fold
Instead of kneading the dough traditionally, many sourdough bakers use the stretch and fold technique. With wet hands, stretch one side of the dough up and fold it over the center. Rotate the bowl 90 degrees and repeat. Do this 4 times (one full round) at 30-45 minute intervals during the first 2 hours of bulk fermentation. This builds gluten strength without deflating the gas.
Shaping and Final Proof
After bulk fermentation, gently pour the dough onto a lightly floured surface. Pre-shape it into a loose round, let it rest 20-30 minutes (bench rest), then shape it into its final form – a boule (round) or bâtard (oval). Place it seam-side up in a well-floured proofing basket (banneton). Cover and let it proof either at room temperature for 1-2 hours, or in the refrigerator overnight (12-16 hours) for a cold retard.
Scoring and Baking
Preheat your oven to 250°C / 480°F with a cast iron Dutch oven inside. Turn the dough out of the proofing basket onto parchment paper. Make a deep slash with a sharp knife or lame – this controls where the bread expands. Place the dough in the hot pot with the lid on and bake for 20 minutes. Remove the lid and bake for another 20-25 minutes until the bread is deeply golden. The steam from the covered pot during the first minutes creates the glossy, crispy crust that is the hallmark of sourdough bread.
Temperature & Timing
Temperature is the single most important variable you can control as a sourdough baker. It affects fermentation speed, flavor development, and the final texture of your bread. Understanding the relationship between temperature and time gives you full control over your baking.
Fermentation Activity and Temperature
The yeast in your starter is most active between 25-30°C (77-86°F). The lactic acid bacteria thrive in a similar range, but with an important nuance: homofermentative bacteria (which produce lactic acid) prefer warmer temperatures (30-35°C / 86-95°F), while heterofermentative bacteria (which produce acetic acid) prefer cooler temperatures (20-25°C / 68-77°F). This is why warm fermentation produces a milder bread, while cool fermentation produces a tangier bread.
Cold Retard
Placing your dough in the refrigerator (4-6°C / 39-43°F) overnight is one of the most useful techniques in sourdough baking. Fermentation slows dramatically, giving you flexibility – you can shape the dough in the evening and bake in the morning. But even more importantly: the cold retard develops deeper, more complex flavors. Enzymes continue to work in the cold, even though yeast nearly stops. The result is better flavor, better crust, and easier scoring.
Warm Proofing
If you're short on time, you can increase the temperature to 28-30°C (82-86°F) to accelerate fermentation. Some bakers use the oven with just the light on, or place the dough near a radiator. But be careful – too high a temperature (above 35°C / 95°F) can kill the yeast and create off-flavors. Warm proofing gives faster results but generally less complex flavor.
Desired Dough Temperature (DDT)
Professional bakers use Desired Dough Temperature (DDT) for consistent results. DDT is typically 24-26°C (75-79°F). To achieve this, you adjust the water temperature based on room temperature and flour temperature. The formula is: water temp = (DDT × 3) − room temp − flour temp − friction factor. For home bakers, it's often enough to use lukewarm water in winter and cool water in summer.
Troubleshooting
My bread is dense and heavy
This is often a sign of under-fermentation – the dough hasn't risen enough during bulk fermentation. Make sure your starter is active and at peak when you add it. Let bulk fermentation continue longer (look for 50-75% volume increase). Also check that you have enough water in the dough – too-dry dough produces dense bread. Gluten needs water to develop properly.
My bread doesn't rise
Your starter probably isn't active enough. Make sure it doubles within 4-8 hours of feeding before you use it. Other causes could be too much salt (which inhibits yeast), too-cold dough, or that you forgot to add the starter. Try feeding your starter twice a day for 2-3 days to build up its strength.
My bread is too sour
Sourness comes from acid production during fermentation. To reduce sourness: use warmer dough temperature (25-27°C / 77-80°F), shorter fermentation time, more starter (for faster fermentation), or switch to wheat flour instead of rye. Avoid long cold retards if you want a milder flavor. A 1:5:5 feeding ratio before baking also produces a milder starter.
My bread is gummy/sticky inside
The most common cause is cutting the bread too soon! Bread must cool completely (at least 1-2 hours) before slicing. During cooling, the starch sets and moisture distributes evenly. Other causes: over-fermentation (the dough collapses instead of holding structure), too-high hydration for your experience level, or too-low baking temperature.
My bread flattens in the oven
Your dough probably lacks gluten strength, or it's over-proofed. Make sure you do enough stretch and folds during bulk fermentation. Shape the dough tightly with good surface tension. Bake directly from the fridge – cold dough holds its shape better. Also check that you're using the right flour – low-protein flour gives weaker structure.
My starter isn't active enough
Try switching to rye or whole wheat flour for feedings – these contain more nutrients and wild yeast cells. Feed more frequently (twice daily) at a 1:1:1 ratio. Make sure water and flour temperatures are lukewarm (25-28°C / 77-82°F). Avoid chlorinated water and metal spoons. Place the starter in a warm spot. Give it 5-7 days of consistent feeding – patience is key.
Glossary
- Autolyse
- A rest period after mixing flour and water, but before adding starter and salt. Allows the flour to absorb water and enzymes to begin working.
- Banneton
- A proofing basket, traditionally made from rattan, used to support the dough during final proofing. Creates the characteristic ring pattern on the crust.
- Bulk fermentation
- The first, long rise after all ingredients are mixed. The dough ferments as a single mass (bulk) before being shaped.
- Crumb
- The internal structure of the bread. An "open crumb" has large, irregular holes, while a "tight crumb" has small, even holes.
- DDT (Desired Dough Temperature)
- A target for ensuring consistent fermentation by adjusting water temperature based on room and flour temperatures.
- Dutch oven
- A cast iron pot with a lid used for baking sourdough. The lid traps steam, creating a crispy, glossy crust.
- Ear
- The raised flap of dough that forms along the score when bread expands in the oven. A sign of good shaping and proper scoring.
- Hooch
- The dark liquid that collects on top of a hungry starter. It's alcohol produced by the yeast. Can be poured off or stirred back in.
- Hydration
- The ratio of water to flour in the dough, expressed as a percentage. 70% hydration = 700g water per 1000g flour.
- Cold retard
- Letting the dough proof in the refrigerator (4-6°C / 39-43°F) overnight. Develops better flavor and provides scheduling flexibility.
- Lame
- A sharp tool (often a razor blade attached to a stick) used to cut patterns in the dough (scoring) before baking.
- Levain
- A portion of starter built up specifically for a bake. Often fed with a specific flour or ratio to suit the recipe.
- Oven spring
- The rapid rise that occurs in the first 10-15 minutes of baking, driven by CO₂ gas expanding in the heat.
- Scoring
- Cutting slashes in the surface of the dough just before baking. Controls where the bread expands and creates decorative patterns.
- Stretch and fold
- A gentle technique for building gluten strength without traditional kneading. The dough is stretched upward and folded over itself.